If you need a new water line without tearing up your yard, auger boring gives you a precise, low-impact option. You launch a helical auger inside a steel casing between compact pits, control line and grade with a laser, and return spoil to the entry pit. Lawns, driveways, and landscaping stay intact, and restoration shrinks. It’s efficient in stable soils—when permits, utility locates, and staging are dialed in—yet success hinges on one critical choice.
What Is Auger Boring and How It Works
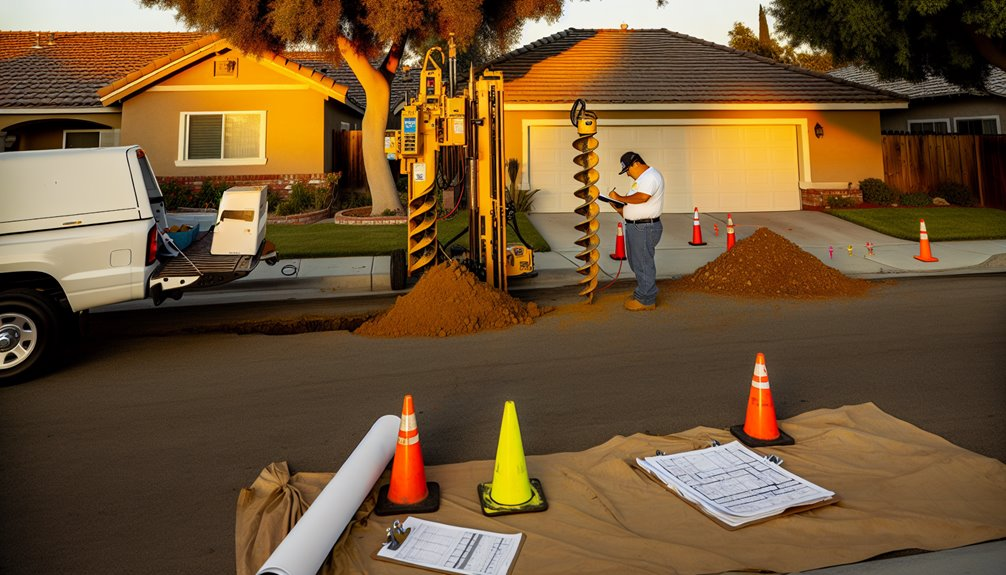
Start with the basics: auger boring is a trenchless method that uses a rotating helical auger inside a steel casing to excavate soil and install a pipe simultaneously.
You set a launch pit, position the boring machine, and push the casing forward while the auger conveys cuttings back.
You control bore alignment with a laser or theodolite, adjusting jacking force and rotation to maintain grade and line.
Soil mechanics guide your choices—cutterhead, torque, and thrust must match cohesion, density, and groundwater conditions to prevent voids or overcut.
You monitor advance rates, keep lubrication calibrated, and verify casing joints to confirm a continuous, stable path.
Once target depth and alignment are met, you place the carrier pipe, confirm tolerances, and demobilize with minimal footprint.
Why Auger Boring Minimizes Surface Disruption
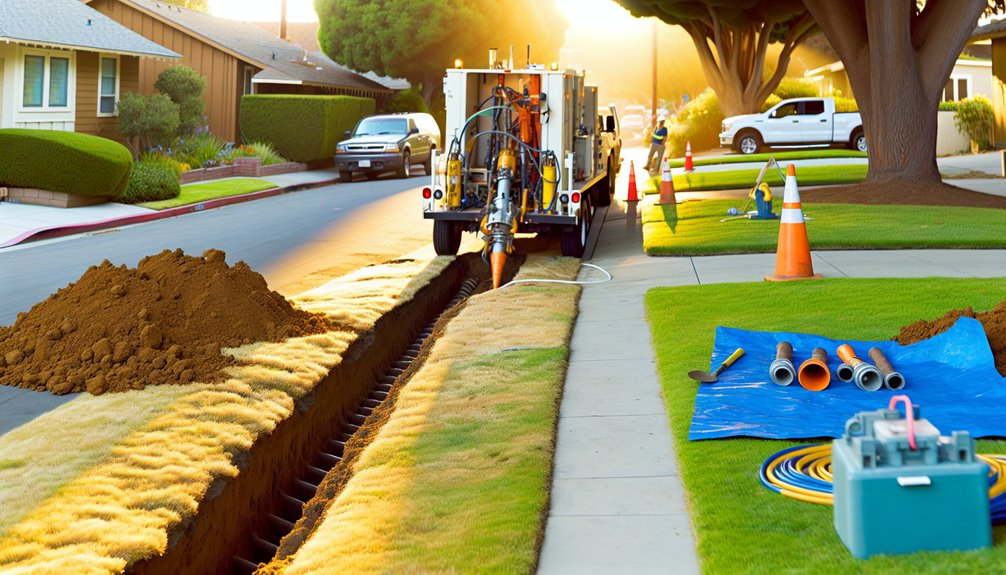
Dialing in auger boring keeps activity underground, so you avoid open trenches that tear up yards, driveways, and landscaping. You benefit from minimal excavation: a compact launch and exit pit contain the work while the auger advances beneath surfaces you value. That means fewer site resets, faster restoration, and real landscape preservation for your community’s shared spaces and your own yard.
- Picture sod staying intact, roots undisturbed, and flowerbeds untouched while the bore quietly threads a new water line below.
- Imagine your driveway staying level, with no slab cutting, no patchwork scars, and cars returning to routine parking the same day.
- Envision clean sidewalks and clear play areas, fences and patios undisturbed, because the bore path bypasses them with millimetric control.
You get efficiency, order, and cohesion—without surface chaos.
Ideal Situations for Residential Water Line Auger Boring
Because auger boring keeps surface disturbance low, it’s the right fit when you must route a new line under driveways, sidewalks, streets, mature landscaping, or hardscape you don’t want to cut. You’ll also favor it where access is tight but you can stage small pits at endpoints. It excels beneath backyard landscaping you’ve invested in—lawns, beds, patios—preserving grades and irrigation.
Choose auger boring when utilities are mapped and you need controlled, laser-checked alignment at known depth. It’s ideal in stable soils—clays, dense sands—and when groundwater is manageable. Plan around seasonal timing: bore before freeze sets, or after thaw to avoid heave, and sidestep peak yard-use months. If you value quiet operations, minimal haul-off, and quick site restoration, you’ll appreciate the shared efficiency.
Comparing Auger Boring to Open-Cut and Other Trenchless Methods
While open-cut trenching exposes the entire alignment, auger boring advances a cased bore from small pits, keeping surface assets intact and traffic flowing. In a trenchless comparison, you’ll see auger boring excels when alignment is straight, soils are stable, and grade control matters.
Compared with open-cut, you reduce surface impact, restoration costs, and neighborhood disruption. Against HDD, you gain tighter line-and-grade control and less drilling fluid management. Versus pipe bursting, you avoid existing pipe dependency and heave risk.
- Picture two compact launch/receive pits, lawns undisturbed, driveway accessible.
- Visualize a steel casing pushing forward, augers conveying spoil cleanly back.
- See crews coordinating efficiently, residents moving freely, utilities protected.
Choose auger boring when you value predictable geometry, minimal footprint, and a process your community can rally around.
Planning and Permitting Considerations for Homeowners
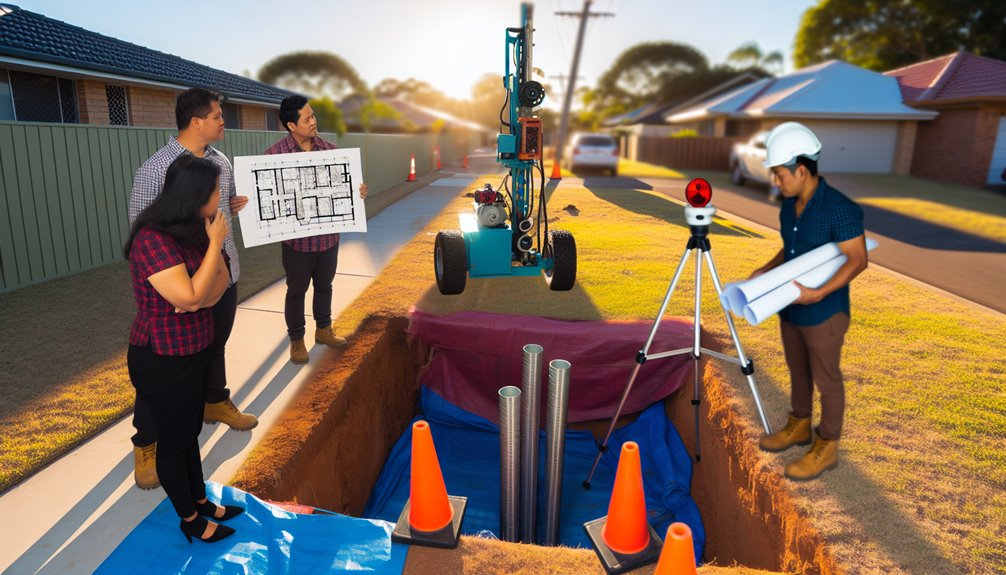
Before a crew mobilizes, you need a clear plan and the right permits to keep the auger bore compliant and on schedule. Start with utility locates and an Easement review to confirm legal access and setback limits. Verify right-of-way permissions, driveway/sidewalk crossing approvals, and any tree or pavement protection requirements. Coordinate with your water purveyor on meter location, pipe material, and pressure testing standards.
Check local permits: excavation, street opening, traffic control, and noise windows. Confirm inspection milestones and submittals (site plan, bore path, depth, diameter). Align Seasonal timing with ground conditions and municipal moratoriums; winter freezes and spring thaws can constrain productivity. Inform neighbors and HOA early; share a concise schedule and contact list. Document everything—approvals, insurance, and contractor licenses—to avoid delays.
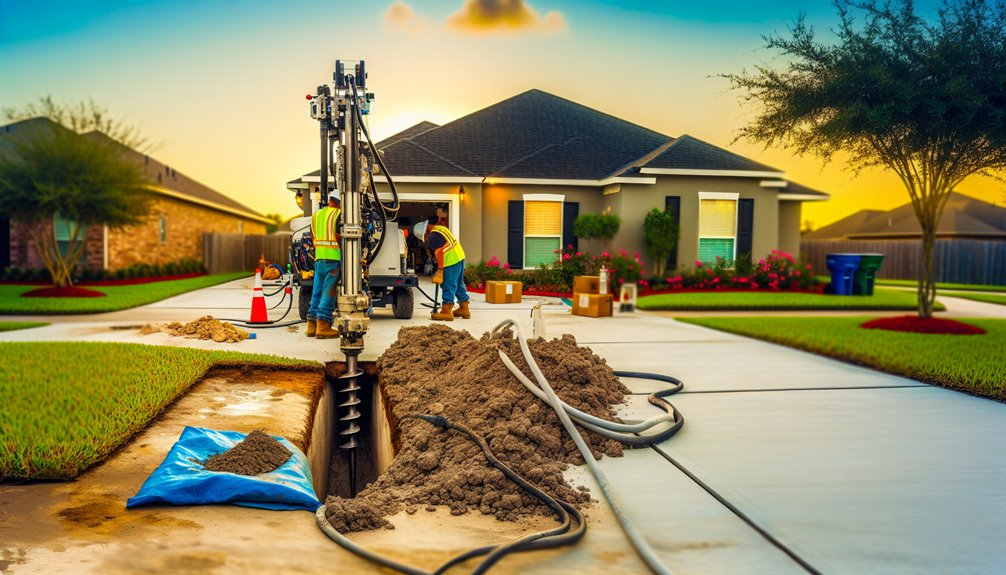
Step-by-Step Workflow From Setup to Pipe Installation
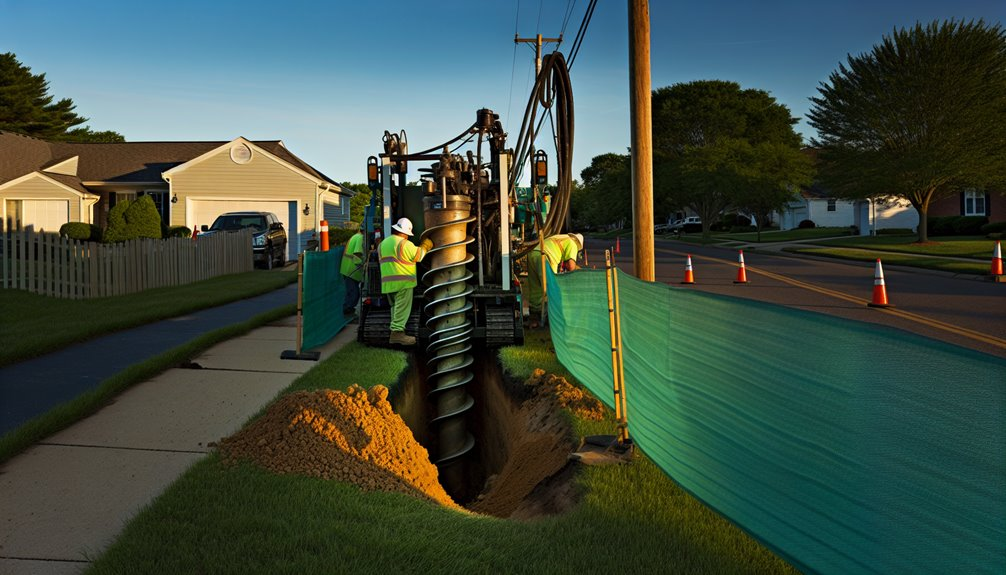
Once permits and locates are verified, mobilize efficiently: stage the auger boring machine, power pack, and spoil management within the defined work zone, then fence and sign it for safety and traffic control.
Excavate entry piting and exit pits to design depth; shore as required. Establish line leveling with laser or theodolite, confirm elevations, and set the cradle.
- 1) You align the jacking frame, check thrust blocks, and dry-fit casings to guarantee straight, stable push.
- 2) You initiate pilot tracking, logging depth and grade at intervals to maintain tolerance and avoid conflicts.
- 3) You monitor torque, vibration, and spoil returns, adjusting feeds to protect pavements and landscaping.
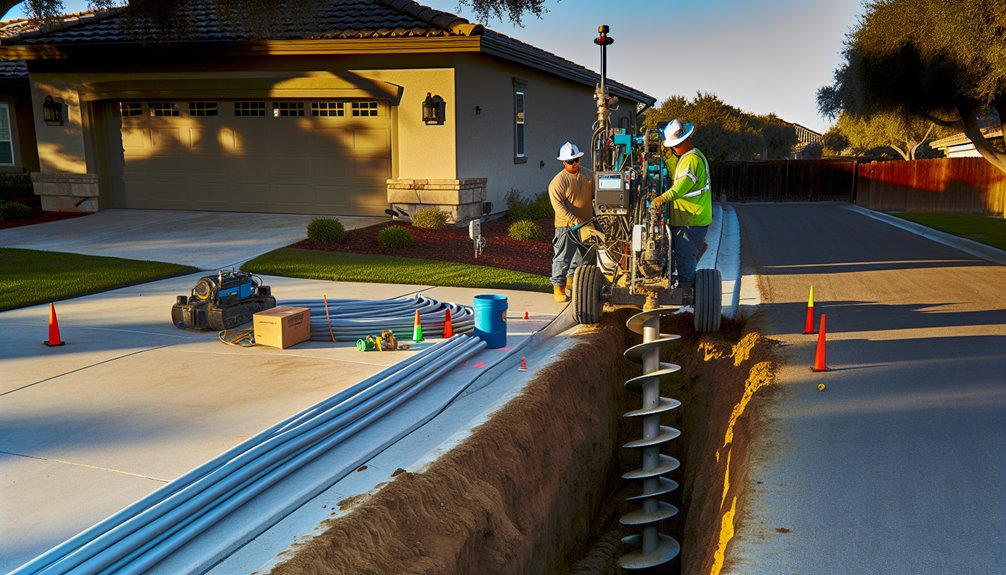
Advance the bore, add casing, and perform mandrel pulling to verify internal clearances. Install carrier pipe with spacers, pressure test, disinfect, backfill, and restore.
Cost Factors, Typical Ranges, and Ways to Save
Because auger boring blends trenchless precision with heavy equipment mobilization, costs concentrate around four drivers: access and setup, geology, bore length/diameter, and site controls.
You’ll typically see mobilization and pit prep set the floor, then drilling time, casing, and carrier pipe push totals. Expect residential ranges of roughly $85–$180 per linear foot for standard 4–8 inch water services, with premiums for tight access or complex dewatering. Material costs for steel casing, HDPE/PVC carrier, and fittings can represent 20–40% of the total.
To save, standardize diameters, minimize pit depth, and align utilities to shorten bore length. Combine projects with neighbors to share mobilization. Ask about seasonal discounts when crews are underutilized. Pre-order materials to avoid rush fees. Provide clear access, staging, and power to keep production steady.
Soil, Utility, and Site Constraints to Evaluate
With budget drivers in mind, you now assess the ground and surroundings that dictate feasibility and risk. Confirm soil type, compaction, and bedrock presence to predict steerability, torque demands, and spoil handling. Map utilities with recent as-builts and locates; verify depths and clearances to avoid conflicts. Note seasonal groundwater, drainage paths, and surface loads so pits stay stable and dry with minimal disruption.
1) Picture a narrow launch pit: dense clay walls hold shape, a shallow utility crosses ahead, and your bore path threads beneath with inches to spare.
2) Visualize a gravel lens over fractured rock; torque spikes signal bedrock presence, and you adjust cutting heads to maintain line and grade.
3) See a sump quietly managing seasonal groundwater, keeping the trenchless operation clean and neighbor-friendly.
Selecting a Qualified Contractor and What to Expect on Site
Even before you price materials, vet trenchless specialists who regularly auger-bore short residential runs under drives, walks, and landscaping. During contractor vetting, confirm state license, trenchless-specific insurance, recent references, and documented bore plans. Ask about steering systems, casing sizes, spoil management, and restoration standards. Require proof of utility locates and a traffic/pedestrian protection plan.
Expect a structured site walk through. The foreman will verify entry/exit pits, line and grade, setbacks from foundations, and clearance to marked utilities. You’ll review staging, noise windows, and access routes to protect neighbors and landscaping. On bore day, the crew mobilizes pits, sets the auger frame, checks alignment, then advances casing while removing spoils. They pressure-test, disinfect if specified, backfill, compact, and restore surfaces with minimal disruption.
Conclusion
You’re now equipped to choose auger boring with confidence. By driving a helical auger in a cased bore on laser-checked line and grade, we protect lawns, drives, and landscaping while installing a durable water line fast. I always tell customers to plan permits and locates early, verify soil stability, and coordinate access, staging, and spoil handling. Compare costs against open-cut and other trenchless options, then hire an experienced crew with the right tooling. That way you’ll minimize disruption, control risks, and finish restoration quickly.
If you want to learn more or talk through your project, I’d love to help — visit boringbro.com or give us a call at (954) 639-6167.