If you’re adding or replacing a residential gas line, horizontal directional drilling (HDD) lets you route pipe under lawns, patios, and driveways without open trenches. You’ll plan utility locates, permits, and soil checks, then a compact rig drills a guided pilot bore, reams to size with engineered fluids, and pulls the pipe to grade. It’s precise, low-impact, and code-driven—but it’s not for every site, and success hinges on specific steps you don’t want to miss.
What Horizontal Directional Drilling Is and How It Works
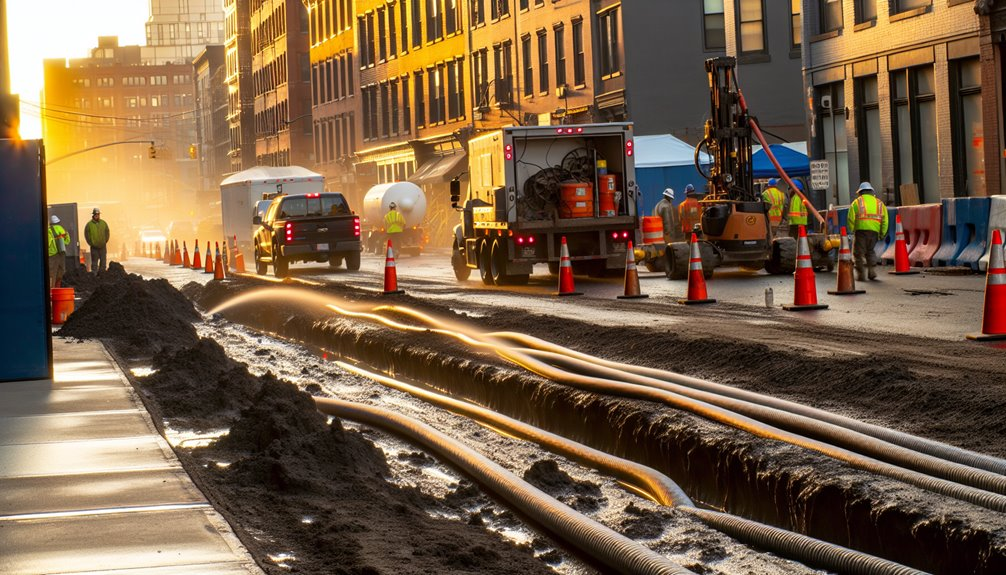
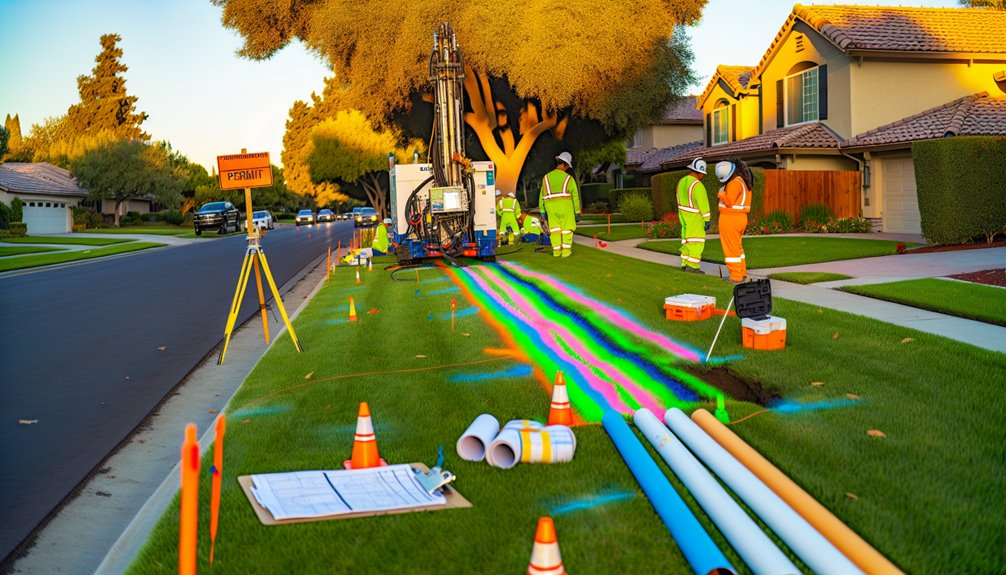
Although it’s a trenchless method, horizontal directional drilling (HDD) is a highly controlled, three-stage process for installing gas pipelines beneath obstacles with minimal surface disruption.
You begin with planning and underground mapping to verify utility locations, soil conditions, and clearances. A tracked rig drills a pilot bore along a designed path, guided by a locator that confirms depth and alignment.
Next, you enlarge the bore with staged reaming. You circulate engineered drilling fluids to stabilize the hole, suspend cuttings, manage pressure, and protect surrounding soils. Continuous monitoring helps you maintain returns and avoid inadvertent releases.
Finally, you pull the pre-fused pipe through the conditioned bore. You verify wall thickness, pullback forces, and bend radius. You cap ends, pressure-test per code, and document as-built data for shared confidence.
When HDD Makes Sense for Residential Gas Service
Start with the site’s constraints and risks, then weigh HDD against open-cut.
Choose HDD when trees, patios, or utilities block a straight trench.
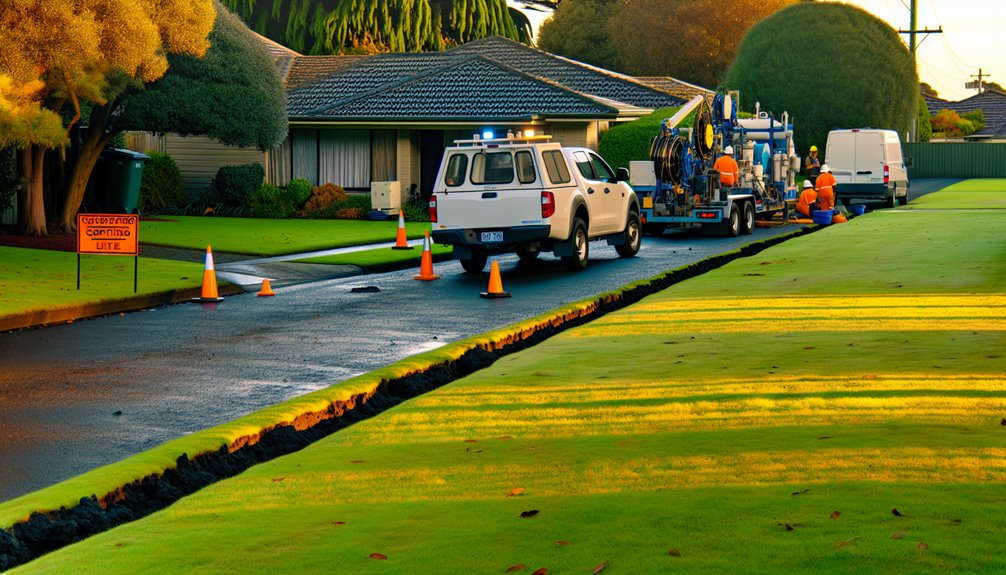
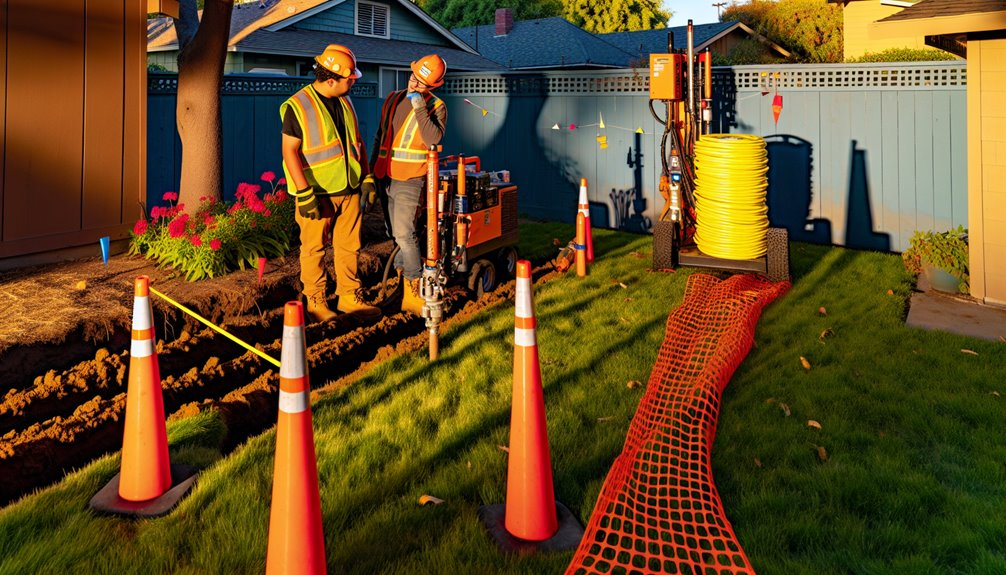
If backyard access is narrow or gated, compact HDD rigs can stage in a driveway and drill under obstacles.
Favor HDD to protect existing landscaping, hardscapes, or mature roots that you want the neighborhood to keep.
Evaluate soil and depth requirements.
HDD excels in stable clays and sands, and it limits surface disturbance in wet conditions.
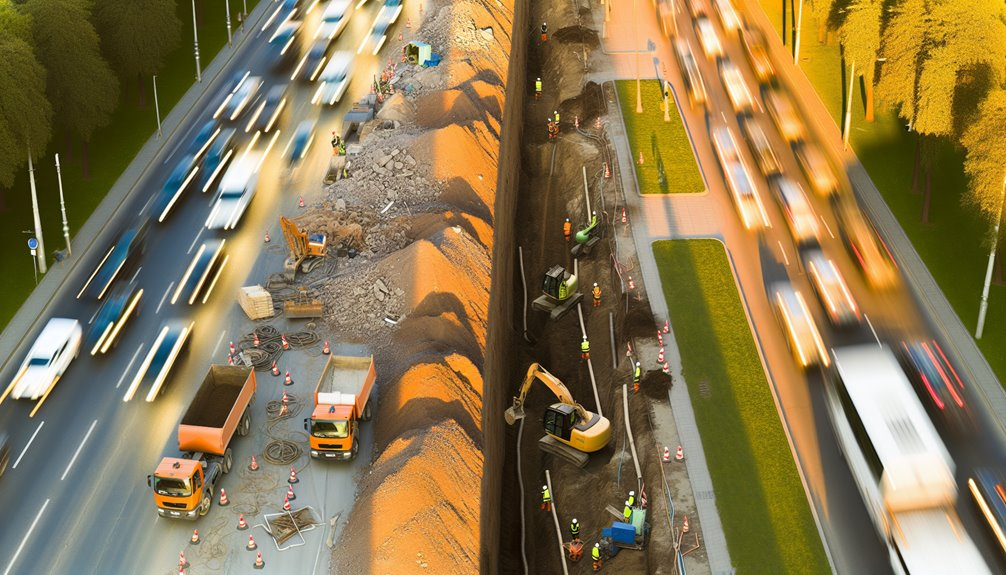
Consider seasonal timing: frozen ground, saturated lawns, or high foot traffic seasons make trenching disruptive; HDD reduces downtime and restoration.
Confirm the route length and entry/exit pits fit safely.
If you need precise grade control and minimal restoration, HDD often delivers the lowest total impact.
Planning Your Project: Surveys, Permits, and Utility Locates
Before a drill ever turns, lock down the paperwork and the subsurface picture.
Start with a documented site assessment: survey property lines, elevations, surface features, and sensitive areas. Verify easements and setbacks against local codes. Commission utility locates through 811 and request marked depths where available; supplement with private locates and ground-penetrating radar if congestion or unknowns exist. Record all locate tickets and expiration dates.
Map your proposed bore path and entry/exit windows to avoid conflicts. Confirm permit timelines with your municipality and gas utility; align them with contractor availability and seasonal restrictions. Prepare submittals: drawings, traffic control, erosion measures, and restoration plans.
Notify neighbors and HOA early to build support. Establish a communication tree, emergency contacts, and daily check-in protocols for a safe, coordinated start.
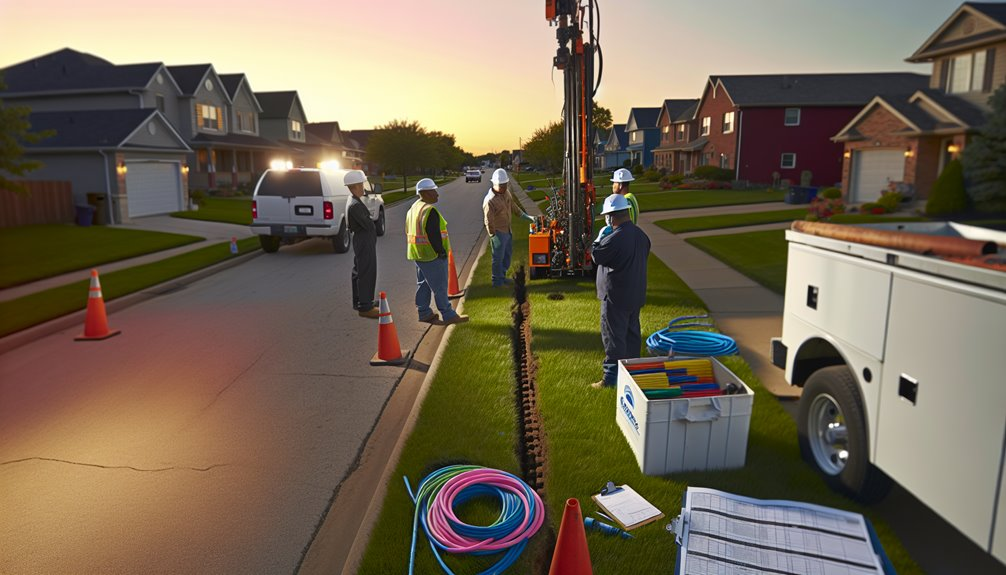
Step-by-Step Process From Pilot Bore to Pipe Pullback
Once permits, locates, and the bore plan are verified, you sequence the work from pilot bore to pullback with tight controls on alignment, pressure, and returns.
You set the entry angle, confirm pilot alignment with tracking, then advance with drill steering corrections at each rod. You log depths and clock face readings, holding designed radii to protect the pipe.
As cuttings rise, you adjust mud management: viscosity for carry, flow for pressure, additives for stability. At exit, you ream in stages, upsizing methodically and maintaining annular pressure.
You assemble the product string with a swivel, test joints, and verify buoyancy control. During conduit installation, you pull at steady load, monitor returns, and pause to recondition fluid.
You complete pullback, flush, demob, and document as-built data.
Safety Measures and Best Practices for Homeowners
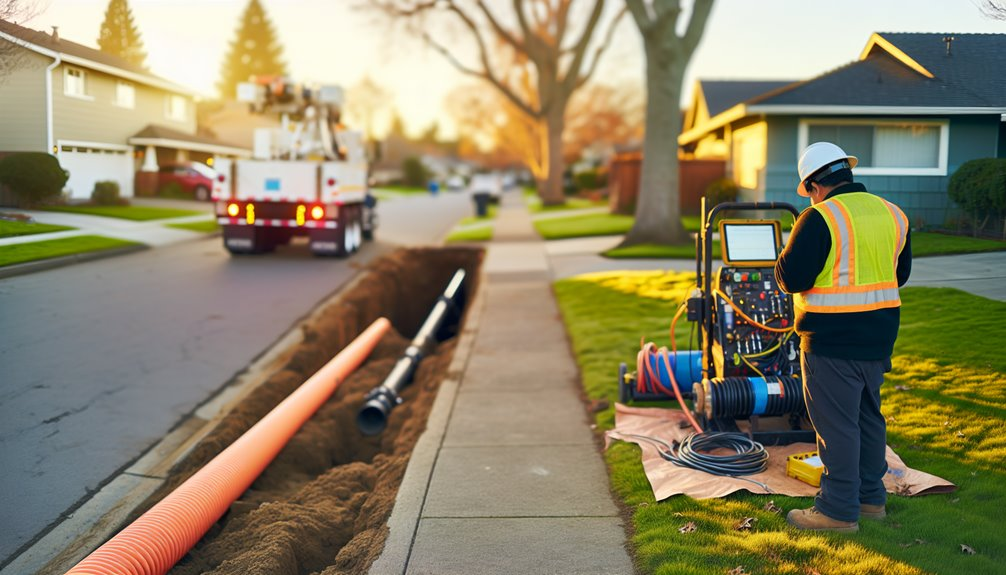
Always treat horizontal directional drilling near your property as a controlled hazard environment: verify utility locates are current, visible, and documented; maintain marked no-dig buffer zones; and confirm the contractor’s insurance, qualifications, and site-specific safety plan.
Attend the pre-job briefing; request daily site inspections, bore-path updates, and tolerance reports.
Establish a clear exclusion zone, signage, and a single point of contact.
Keep children, pets, and vehicles outside barricades.
Require grounded generators, GFCI protection, and proper mud containment.
Confirm gas testing, ventilation, and flame-free work near potential leaks.
Document emergency response steps: who calls 811/911, shutoff locations, and muster points.
If you smell gas, don’t start engines or switches—evacuate and call from a safe distance.
After work, verify as-built records, utility clearances, and restoration.
Environmental and Property Preservation Benefits
Lean into HDD’s minimal-disturbance profile: by steering the bore beneath lawns, trees, pavements, and waterways, you avoid open trenches, reduce soil displacement, and preserve root zones and surface structures. You keep habitats intact, maintain wildlife corridors, and protect drainage patterns.
With careful fluid management and bore tracking, you limit turbidity and prevent inadvertent returns. You also safeguard soil carbon by minimizing excavation, which reduces oxidation and erosion. Your property recovers faster, with fewer reinstatement risks and less traffic disruption to neighbors.
- Maintain vegetation and canopy continuity to stabilize microclimates and bird movement
- Use tight entry/exit pits to confine disturbance and protect utilities and landscaping
- Control drilling fluids with containment, filtration, and documented disposal
- Restore surfaces with compacted backfill, erosion controls, and reseeding appropriate species
Costs, Timelines, and Choosing a Qualified Contractor
Before you authorize a bore, build a clear picture of costs, schedule, and qualifications. Request itemized Budget estimates covering utility locates, engineering, permits, mobilization, pilot bore, reaming passes, product pullback, restoration, traffic control, and contingency (10–20%). Verify pricing assumptions: soil class, bore length/depth, pipe diameter, drilling fluid volume, and rock risk.
Set Timeline expectations with a Gantt-style plan: design and permits (1–4 weeks), utility clearances (3–10 days), drilling and pullback (1–3 days for typical residential runs), pressure testing and tie-ins (1 day), and restoration (1–2 days). Require weather and change-order protocols.
Choose a qualified contractor: HDD-specific licensing, operator certifications, recent gas projects, verified strike-free record, bonded/insured, written safety plan, fluid management, as-builts, and pressure test reports. Insist on a single accountable project lead.
Conclusion
As the owner of Boring Bros., I’ve seen how HDD keeps yards intact while meeting every code, safety, and performance requirement — when you plan carefully, verify bore paths, manage drilling fluids, and monitor pullback forces and tolerances, the result is a precise, durable installation with minimal disruption. We document as-builts, pressure-test, and restore responsibly so trees, hardscapes, and utilities stay protected and the job lasts. If you want a low‑impact option for your gas service done right, I’d love to talk — visit boringbro.com to learn more or give us a call at (954) 639-6167.