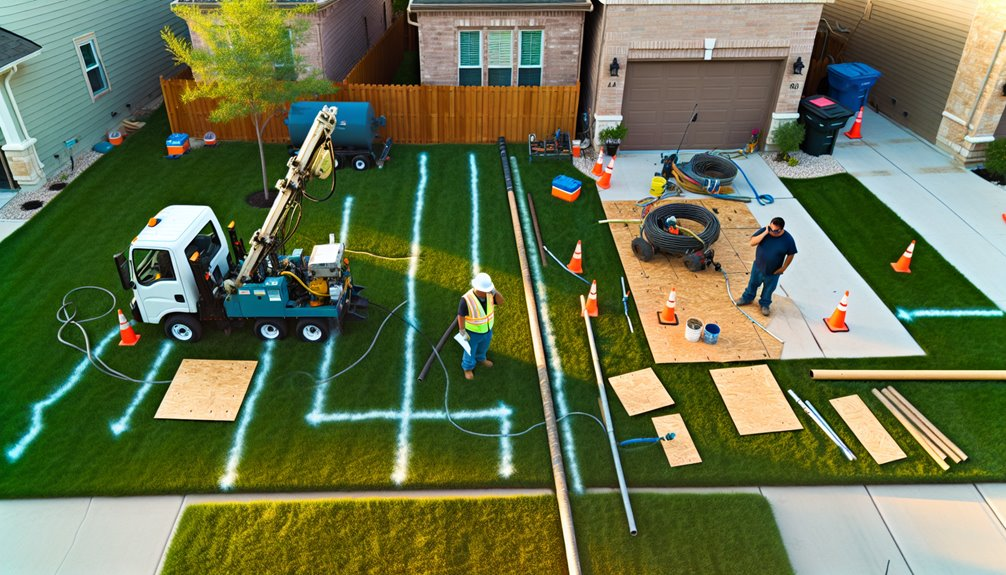
When a residential HDD crew arrives, you’ll see a controlled sequence: permits and utility locates verified, access mats and fencing set, erosion controls installed, and the rig aligned to a surveyed bore path. Crews monitor drilling fluid, track the pilot and ream with locators, and contain any spill. After pullback they pressure-test the line and restore turf and grades before final inspections. Here’s how each step works—and what you’re responsible for.
Permits, Utility Locates, and Pre-Construction Planning

Before any ground disturbance, secure all required permits and approvals from the authority having jurisdiction (AHJ) and the utility owners. Verify permit timelines early so you can align schedules and avoid violations. Confirm scopes, drawings, trenchless methods, bore path, depth, and separation clearances per code. Request utility locates through 811 and any private services; document ticket numbers, validity windows, and markings.
Coordinate locator coordination with your contractor to pothole critical crossings, expose facilities where required, and resolve conflicts before drilling. Require as-built records, utility maps, and easement permissions. Identify environmental constraints, dewatering needs, and drilling fluid management plans that meet local discharge rules.
Establish a communication chain, site contacts, and emergency procedures. You’ll keep neighbors informed, respect property boundaries, and demonstrate a safety-first culture.
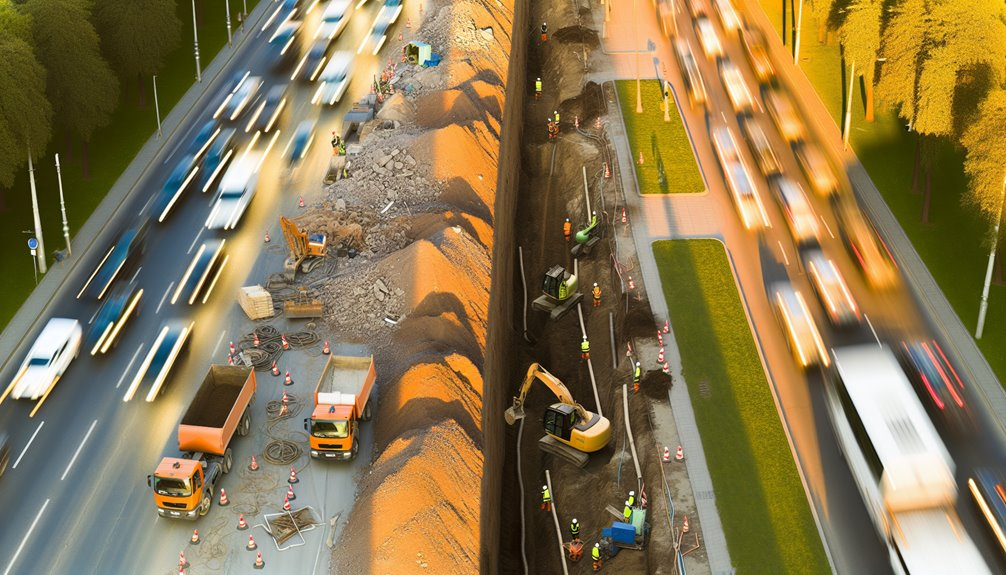
Site Preparation and Access Setup
Once permits and locates are verified, mobilize to establish controlled site access and stable working platforms.
You’ll see crews perform site clearing to remove vegetation, debris, and unsuitable soils while preserving protected trees and utilities per local code. They’ll install perimeter fencing, signage, and erosion and sediment controls to keep neighbors, pets, and runoff safe.
Access grading follows, building a firm, well-drained path with geotextile and aggregate where needed to support trucks without rutting.
Contractors lay down mats or cribbing to distribute loads, verify overhead and lateral clearances, and mark exclusion zones. They’ll confirm utility offsets, mark haul routes, and stage materials away from setbacks and property features.
Finally, they’ll manage noise, dust, and parking to maintain good relations and clean, code-compliant operations.
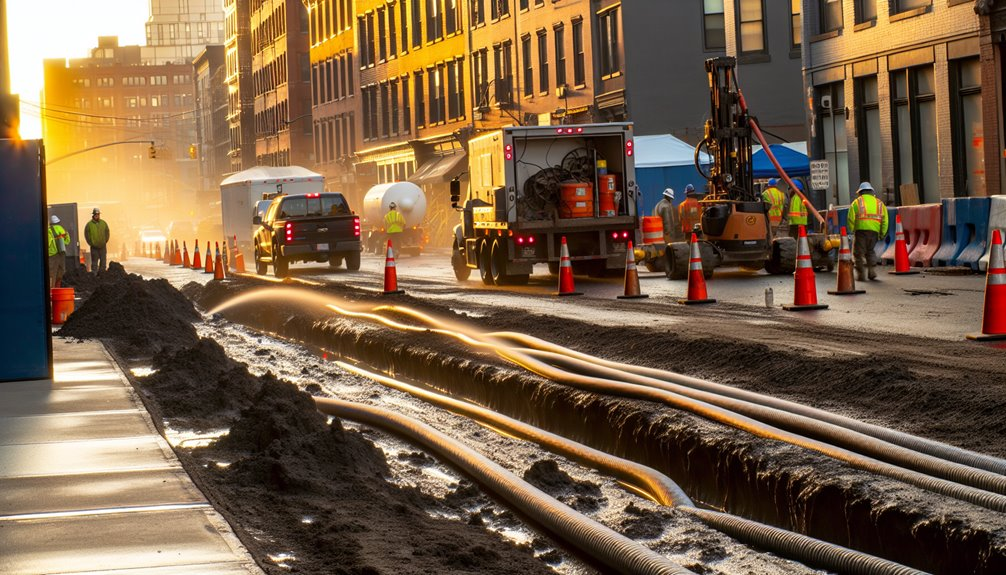
Drilling Operations and Equipment on Site
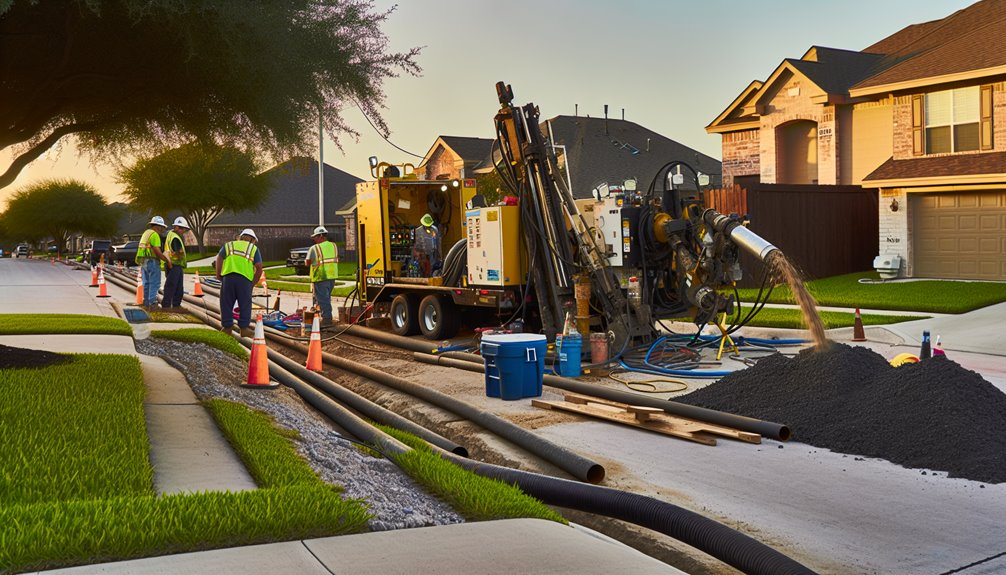
Kick off drilling by positioning the HDD rig and drill string along the surveyed bore path, aligning the carriage with the planned entry angle per design and manufacturer specs. Confirm setbacks, overhead clearance, and utility separation meet code. Before starting, your crew completes rigging inspections, verifies anchor systems, and tests emergency stops.
You’ll see the operator track head location with a locator, logging depth, pitch, and azimuth. They adjust thrust, rotation, and steering to maintain tolerances and avoid restricted zones.
Safe drill rod handling matters: use rod racks, taglines, and pinch-point controls; keep hands clear of spinning connections; apply manufacturer torques. Maintain a clean exclusion zone, with barricades and spotters. Document as-built data in real time. Shut down methodically, lockout-tagout, and secure tooling.
Drilling Fluid Management and Safety Measures
With drilling underway and as-built data logging, you now manage drilling fluids to maintain bore stability, carry cuttings, and protect the environment in accordance with HDD design and local regulations. You verify the mud program: viscosity, density, gel strength, and pH matched to soils noted in utility locates and geotech. Perform chemical monitoring on additives, documenting Safety Data Sheets and mix ratios. Stage secondary containment, drip pans, and berms for strict fluid containment. Position tanks, shakers, and desanders on level ground, with labeled hoses and secured fittings.
Walk the right-of-way for frac-out signs: loss of returns, surface heave, or seepage; activate the containment plan immediately if detected. Equip PPE, eyewash, and spill kits. Keep vacuum trucks ready. Maintain logs, calibrate meters, and communicate deviations promptly.
Restoration, Inspections, and Project Wrap-Up
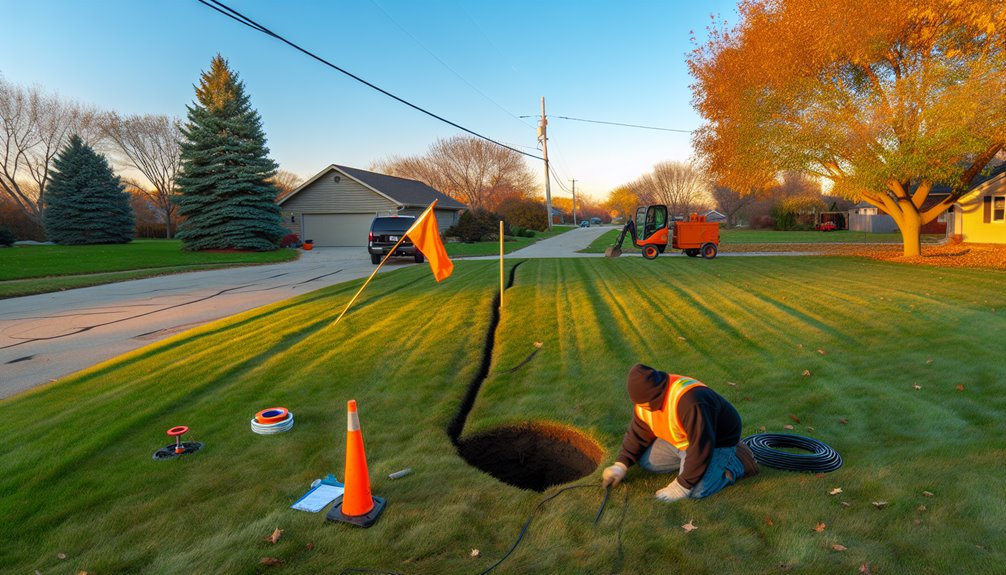
Although drilling wraps up, you still execute a controlled closeout: verify bore as-built against design, pressure-test the product line per spec, and document results. Confirm depth, separation from other utilities, and locator records match the approved plan. Capture photos, test logs, and material tags for your file and your utility’s records.
Next, complete landscape restoration to pre-project condition or better. Regrade, compact, and re-establish turf; replace plants per agreed scope. Manage spoils, silt fence removal, and street sweeping to meet municipal codes.
Perform a final inspection with the contractor and utility representative: check tracer wire continuity, marker placement, valve access, and surface repairs. Close permits, submit as-builts, and receive warranties. Walk the site with neighbors if applicable, affirming safety, cleanliness, and shared standards.
Conclusion
Thanks for taking the time to walk through what to expect during a residential HDD project — as the owner of Boring Bros., I want you to know we take permits, utility locating, erosion control, and fluid containment seriously so your job is safe, code-compliant, and on schedule. If you’d like to learn more or have questions, please visit boringbro.com or call us at (954) 639-6167 — we’re happy to chat about your project and walk you through the details.