When you schedule a residential HDD project, you’ll get a clear plan first—route, scope, and a single point of contact—followed by permits, utility notifications, and a site walk to confirm safe access. Expect equipment staging with mats and signs, daily safety briefings, careful utility locating, and measured drilling with fluid checks before controlled pipe pullback. Afterward, crews restore turf and hardscape, test the line, and document everything—but timing hinges on a few key steps.
Pre-Project Planning and Scope Confirmation
Before you move a shovel or mobilize a drill, confirm exactly what the project must achieve and how you’ll do it safely.
Define the route, depth, entry/exit points, and restoration standards you expect.
Share site photos, access constraints, and hours that work for your neighborhood.
Align timeline expectations with family schedules, deliveries, and school traffic.
List known obstacles like landscaping, hardscape, or irrigation so crews protect what matters to you.
Clarify materials, bore length, and diameter so pricing matches scope.
Build budget contingencies for rock, dewatering, or extra restoration, and agree on unit rates ahead of time.
Establish how you’ll approve changes, who’s on-site, and how updates will be shared.
Confirm surface protection, cleanup, and post-project walkthrough to make certain everyone feels respected and heard.
Permits, 811 Notifications, and Utility Coordination
Although the plan feels solid, you still need paperwork and clearances in place to dig legally and safely. Your contractor should outline permit timelines up front, including municipal permits, right-of-way permissions, and any traffic control approvals. Ask for a checklist and due dates so you’re never guessing. Confirm who files what, and require written updates.
Call 811—or have your contractor do it—well before mobilization. Utilities will mark gas, water, electric, telecom, and sewer laterals on-site. Verify markings match the drawings, and photograph paint and flags for records. If anything’s unclear, pause work.
Strong contractor communication keeps everyone aligned. Request a single point of contact, weekly status summaries, and documented utility coordination. You’re part of the safety team; your questions and confirmations protect your property and neighbors.
Site Assessment and Access Setup
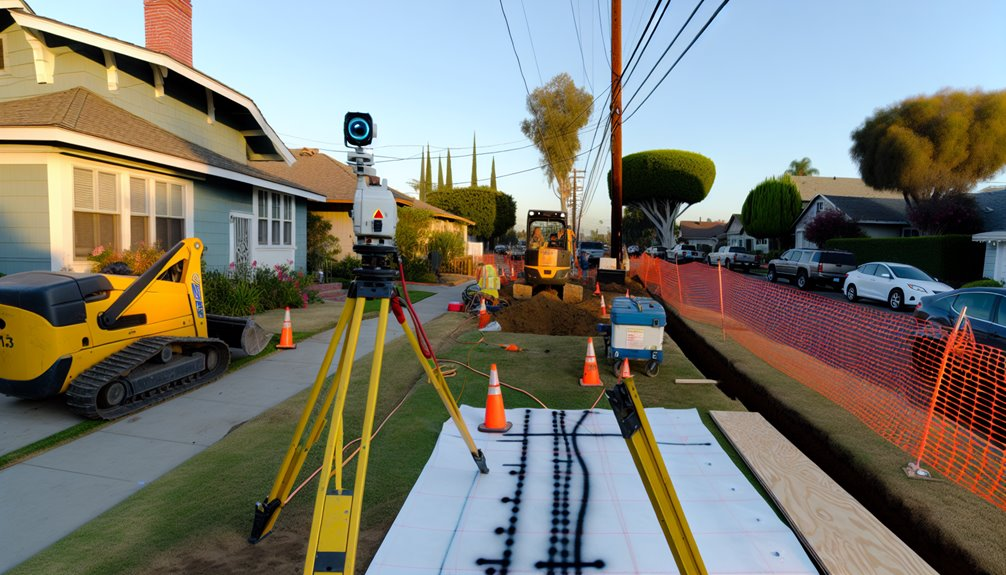
Permits and utility clearances in hand, you now verify the site itself supports a safe, efficient HDD setup. Walk the route end to end, confirm entry/exit points, and confirm setbacks from structures, sidewalks, and landscaping. Document grades, drainage paths, and soft soil pockets that could affect tracking and returns. Complete a vegetation assessment to protect roots and avoid low branches that could block line-of-sight for crews.
1) Mark protection zones: flag trees, garden beds, irrigation heads, and pet areas; set plywood paths to prevent rutting and soil migration.
2) Plan access: measure gate widths, overhead clearances, and turning radii; coordinate parking and material laydown that respects neighbors.
3) Practice neighbor communication: share schedule windows, contact info, and expected noise levels; post clear signage and maintain clean, unobstructed walkways for everyone’s safety.
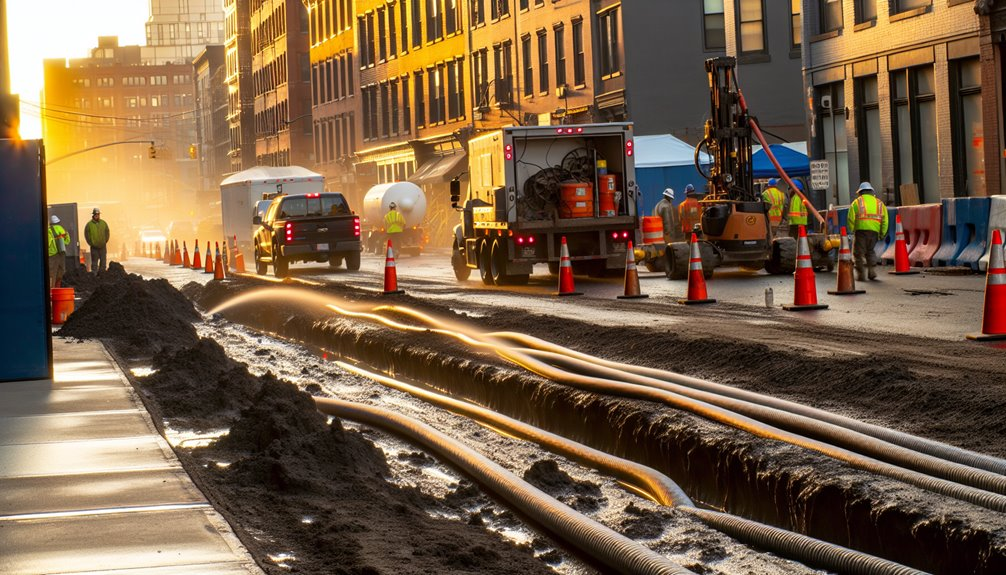
Equipment Arrival and Staging Areas
Once access is confirmed, schedule equipment delivery in a tight window and stage it to maintain safe, clear egress for residents, pedestrians, and emergency vehicles.
You’ll designate a staging zone for the drill rig, support truck, mud mixer, and spoils containers, keeping driveways open and sightlines clear. Mark cones and signage to guide foot traffic and protect parked cars. Verify ground bearing capacity to prevent rutting or settling under heavy loads.
Plan equipment staging to minimize noise near bedrooms and limit idling. Lay down mats to protect landscaping and hardscape. Coordinate crane or forklift movements during low-traffic hours.
Hold daily crew briefings to review access routes, hand signals, spill-prevention steps, and fire extinguisher locations. Keep a clean perimeter, bundle hoses and cords, and document arrivals with photos.
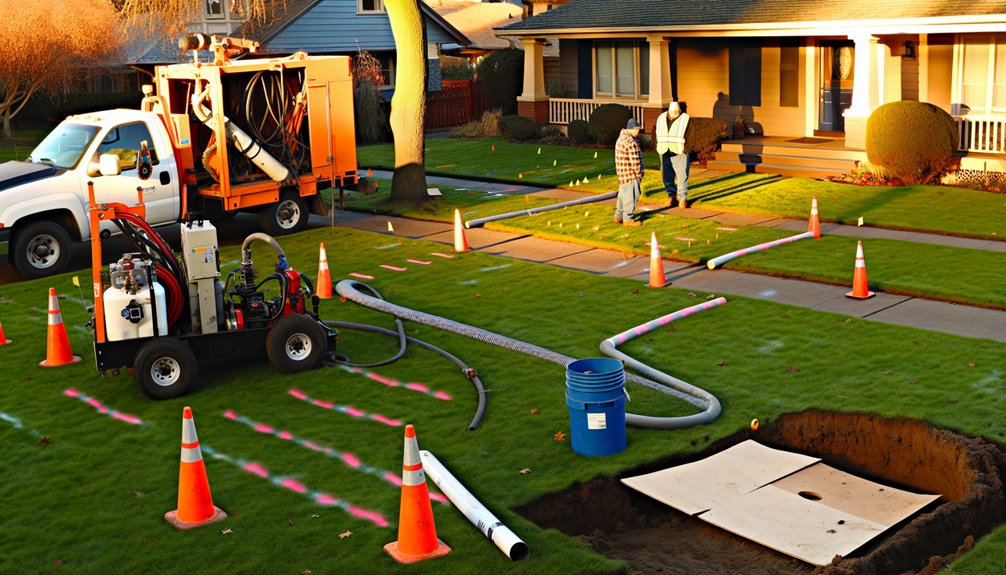
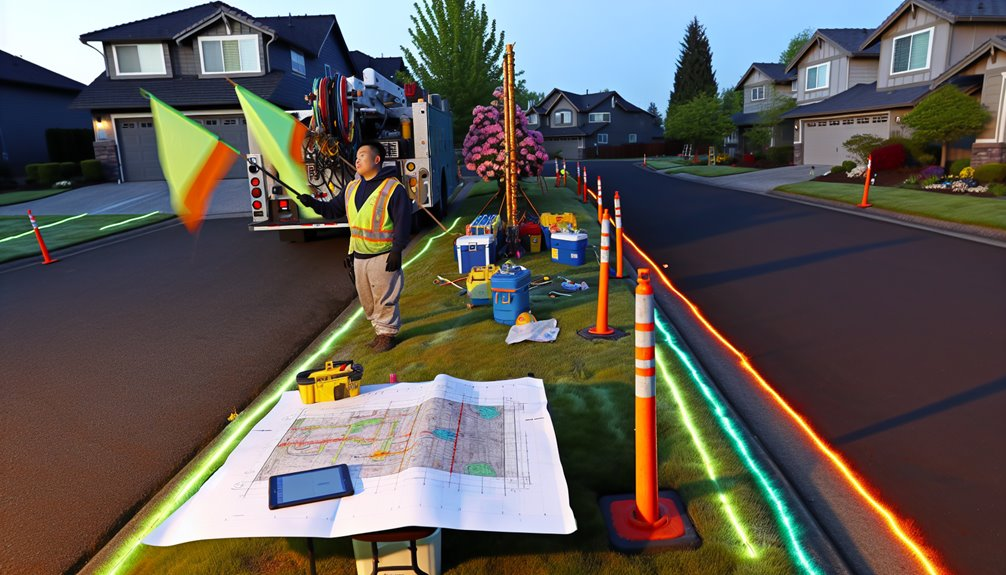
Locating Existing Utilities and Marking the Path
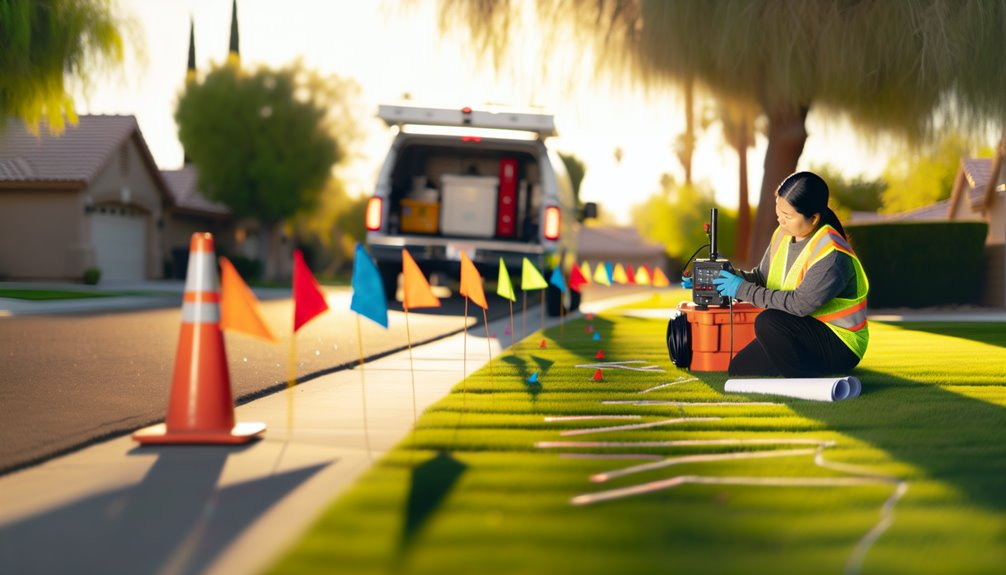
With staging set and access routes controlled, you now verify what’s underground before a single pilot hole is drilled. You request utility locates and join the walkthrough so everyone sees the plan. We combine underground mapping, ground penetrating radar, and locator wands to identify public and private assets. A private lines survey checks irrigation, landscape lighting, propane, and septic laterals the one-call system doesn’t cover. Once verified, we mark a clear, safe alignment.
- Confirm all tickets: utility owners cleared, private lines survey scheduled, and site drawings updated.
- Field-verify: sweep with ground penetrating radar, trace signals, and pothole critical crossings to confirm depth.
- Mark the path: apply utility paint and flags by color code, add offset notes, and protect marks with cones and signage so everyone stays aligned.
Pilot Bore: Drilling the Initial Path
Before steel meets soil, you run a final pre-bore checklist and brief the crew so the pilot stays on plan and out of conflict. You confirm stakeout marks, verify set-back distance, and complete alignment verification with the locator. You review soil sampling results to select the right drill bit, fluid mix, and pressure limits. Safety comes first: barricades, spotters, PPE, and a live utility watch remain in place.
You guide the drill head along the designed depth and pitch, making small steering corrections to avoid utilities and landscaping. The locator reports signal strength and heading; you log readings and footage. You monitor torque, thrust, and fluid returns to catch voids or cobbles early. If data drifts, you pause, reassess, and realign before advancing.
Reaming and Hole Enlargement

Shift from pilot precision to controlled enlargement as you set up the first ream. You’ll see the crew size up soil conditions, choose a reamer style, and confirm bore steering stayed true. They’ll pair drilling fluid with additives for friction reduction, cuttings transport, and wall support. Safety anchors every step: torque checks, pressure limits, and exclusion zones keep the operation predictable and your property protected.
1) Verify alignment: Crews run a tracker pass to confirm the pilot path, then stage reamers in planned increments to avoid overstressing the ground.
2) Manage fluids: They monitor viscosity, flow, and returns, adjusting to maintain hole stability and carry spoils cleanly to the recycling unit.
3) Control forces: Operators regulate rotation, thrust, and pull rates, preventing inadvertent returns and preserving the bore’s integrity.
Product Pipe Preparation and Pullback
Line up the product pipe on stable, level supports and work methodically to ready it for pullback. Confirm the pipe length, wall rating, and bend radius match the final bore.
Inspect every joint, gasket, and bevel; remove debris and sharp edges. Perform connection testing on fusion or mechanical couplings, documenting heat numbers and torque values so you know the system is sound.
Stage the swivel, pulling head, and breakaway link, then verify capacities exceed expected loads. Apply pipe lubrication uniformly to reduce friction and protect coatings.
Place rollers or skids to keep the pipe clean and aligned with the bore path. Maintain clear radio or hand-signal communication. Begin pullback slowly, monitor pull force and fluid returns, and pause immediately if loads spike or rotation stalls.
Restoration, Cleanup, and Site Stabilization
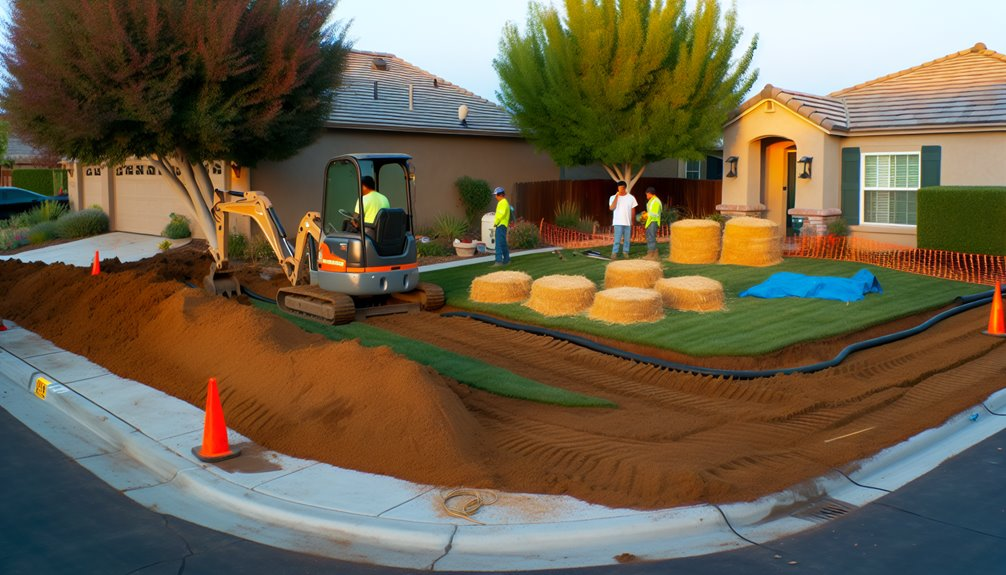
Closing out the bore means restoring the site to equal or better condition while preventing future hazards.
After pullback, your crew grades disturbed areas, removes spoils, and hauls off debris.
We verify compaction so trenches won’t settle, seed or sod bare ground, and install erosion control to protect neighbors and waterways.
If drilling fluid contacted lawns or beds, we neutralize and rinse affected zones, then perform soil testing to confirm healthy pH and salts.
- Stabilize surfaces: backfill in lifts, compact, regrade for positive drainage, and add gravel where vehicles turn.
- Protect slopes and inlets: place wattles, silt fence, and inlet socks; monitor after the first rain.
- Restore your look: match turf type, repair irrigation, reset pavers, and clean sidewalks and driveways.
Final Inspection, Documentation, and Next Steps
Although restoration looks complete, you’ll verify it with a structured final inspection that documents safety, quality, and client expectations. Walk the alignment with your contractor, confirm depths, utility clearances, tracer wire continuity, and valve/box access. Check surface grades, seed coverage, hardscape match, and erosion controls. Photograph conditions and note punch-list items with dates.
Review documentation together: as-builts, pressure and continuity test results, locate maps, equipment serials, and material certifications. Confirm the shutdown/lockout removal and site release. When you’re satisfied, sign final acceptance and receive warranty details, including response times, coverage limits, and maintenance requirements.
Next steps: schedule a utility locate update, set reminders for post-rain checks, and store contacts for service. Learn how to request repairs, register warranties, and update your homeowner association or neighbors.
Conclusion
As the owner of Boring Bros., I want you to feel confident every step of the way — from planning and permits to careful installation and final cleanup. We’ll be your single point of contact, keep you informed with daily safety briefings and clear access routes, and protect your property with vigilant utility locating, fluid monitoring, spotters during pullback, and mats and signage for landscaping. After installation we’ll restore turf and hardscape, test the line, complete as-builts, and promptly handle any punch-list items. Expect transparent communication, documented results, and warranties that stand behind our work long after we demobilize. If you’d like to learn more, please visit boringbro.com or give us a call at (954) 639-6167 — we’d love to help.